New Recipe: Best Hummus Ever
Okay, here we go – a very modest title. “Best ever”, nonetheless.
Well, I love hummus, and outside of Israel, for the most part, I much prefer homemade hummus over any store-bought versions. There was one exception to this – for about 9 months, Costco carried ready-made hummus, which was spectacular – and then it disappeared. But for the most part, the store-bought versions just don’t cut it, so the only way for me to enjoy hummus is by making it myself.
I already shared a hummus recipe on this blog – but since publishing it, I learned a few things, and while this updated recipe uses basically all the same ingredients, the proportions are different, as well as the methodology. Let me list the recipe ingredients first, and then we can talk about it.
Ingredients and tools:
- Dry chickpeas – 1 lb
- Olive oil – 6 tablespoons (approx)
- Kosher salt – 2 teaspoons
- Baking soda – 2 tablespoons
- Tahini – 1 lb (one jar)
- Roasted garlic + roasted garlic oil (see below)
- Fresh Garlic – 3 cloves
- Lemon – 2
- Ice-cold water, 1/3 of a cup
- Blender
In comparison with the previous recipe, this one uses only 2 teaspoons of salt instead of 2 tablespoons, and it requires much less olive oil than the previous one. At the same time, the amount of tahini has doubled. But still this is not a major change. Let’s go step by step through the prep process.
Before we talk about the main hummus ingredient, chickpeas, let’s talk about roasted garlic. In the previous recipe, the garlic was minced and then slowly roasted in the frying pan with olive oil. I now have a much simpler method to make delicious roasted garlic.
Roasted garlic simple recipe:
Preheat oven to 250°F. Peel cloves from 2 heads of garlic. Put garlic cloves in a single layer at the bottom of a small cast-iron or heavy metal oven-safe pan. Pour enough of good olive oil to cover all garlic cloves completely. Cover and put into the oven for 1 hour. In one hour, you will end up with golden roasted garlic cloves and deliciously infused olive oil. Let it cool off, pour into the air-tight container (any used glass jar from preserves or similar will do), and store in the refrigerator. You now have roasted garlic to use as your heart’s desire – for example, to make roasted garlic hummus :). Just take the jar out of the refrigerator a few hours before you are planning to use it (olive oil has a tendency to solidify in the refrigerator).
")
")
Now, let’s get back to our hummus.
First, we need to soak garbanzo beans (a.k.a. chickpeas) in cold water overnight, allowing dried beans to expand. Never use canned garbanzo beans as making a tasty hummus from them is mission impossible. By the way, I now have my favorite dried chickpeas to use in this recipe – non-GMO, family-farmed chickpeas from the state of Washington – you can find them on Amazon. In the morning, drain the chickpeas and let them dry a bit.
Put a large pan (the same pan you will use for boiling the chickpeas) on medium heat, put in the chickpeas, sprinkle two tablespoons of baking soda on top, and fry the beans (don’t add water or salt!) for 3-4 minutes. You will need to constantly stir the chickpeas so they will not start sticking to the bottom of the pan. After you see that the chickpeas are starting to get a bit of color, add cold water, bring to a boil, reduce the heat, and let it boil for about 40 minutes. Again, do not add salt! Salt will make the chickpeas cook for about 2 hours, and will make them a lot more dense. While chickpeas are cooking, remove the foam from the surface, and also use a slotted spoon to remove loose floating chickpeas’ “skins” – this will make hummus creamier. At around the 35-minute mark, start checking the chickpeas. Once they are fully tender, you can remove the pan from the heat and drain the chickpeas. Reserve a cup of liquid, just in case the hummus comes out too dense.
Once the chickpeas have cooled off slightly, we can proceed with the next step. Note: I like to make hummus in two batches, it lets me adjust the garlic/salt/lemon profile exactly as I want it to be – for example, if the first batch too garlicky, I can use less garlic in the second batch; if the first batch is undersalted, I can add more salt to the second batch – both batches end up in the same container anyway and get mixed.
For one batch, put into the blender juice of one lemon, 3 tablespoons of olive oil, 1-2 cloves of fresh garlic, any amount of roasted garlic and roasted garlic oil you desire, and blend them together for one minute – this way I’m making sure the garlic cloves are well incorporated into the liquid. Next, add half of the chickpeas, half a jar of tahini (make sure to mix the tahini in the jar well before using), and one teaspoon of kosher salt. Blend for 2 minutes. After two minutes, while the blender is still running, add a small amount of the ice water and continue blending for another 30 seconds. Stop the blender, pour hummus into the container, and taste for garlic, salt, and lemon. Repeat the process with the second batch, adjusting garlic, salt, and lemon as needed for your taste.
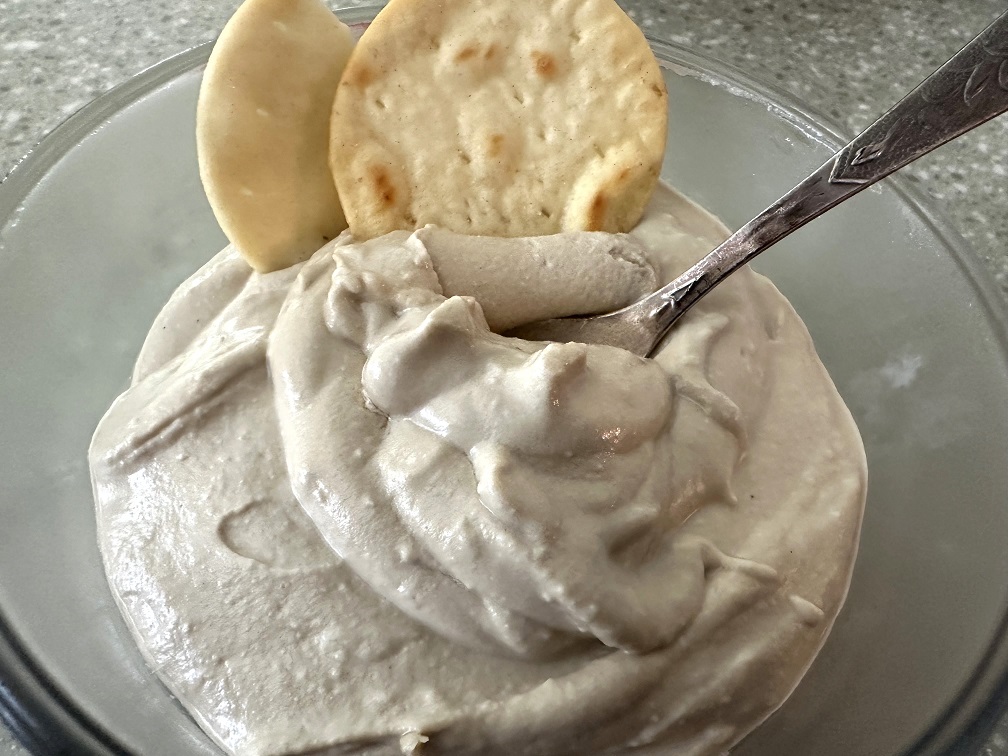
Voilà – now your delicious hummus is ready. It will keep in the refrigerator for about two weeks.
That’s all there is to it. Let me know your thoughts in the comments, especially if you decide to make it!
Last Bottle Sign Up ($10 credit)


![]()
